
What's the Flexible LED Neon Strip?
LED strips and flexible neon strips have become very popular in the lighting industry due to their versatility, energy efficiency, and convenience.
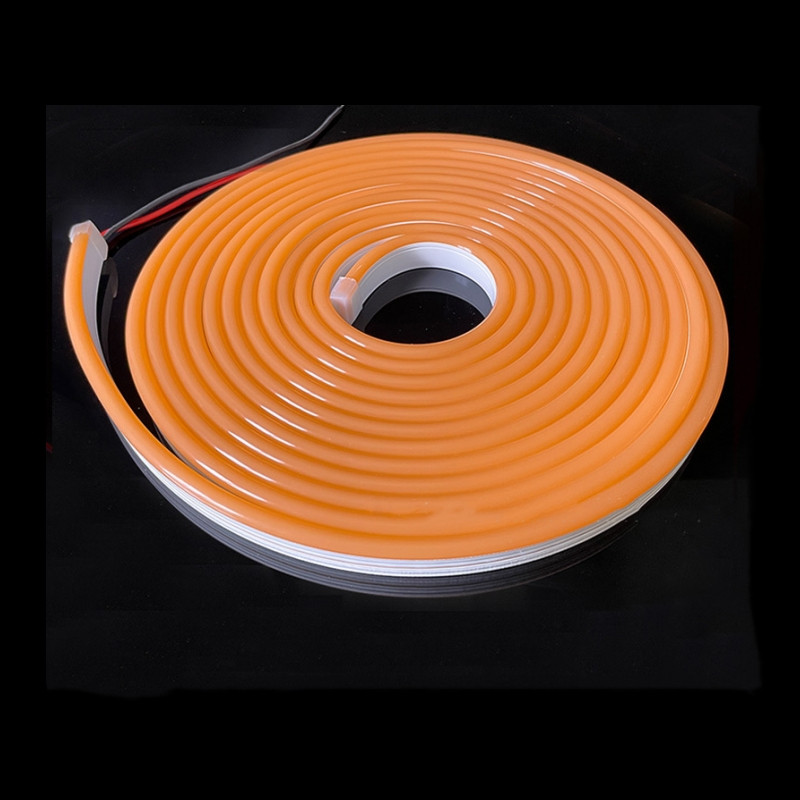
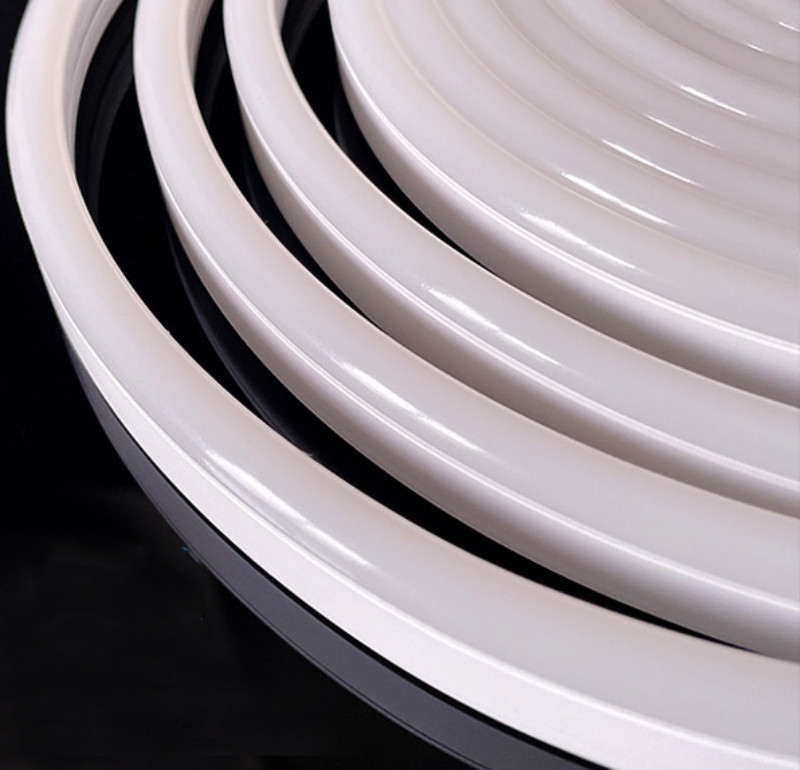
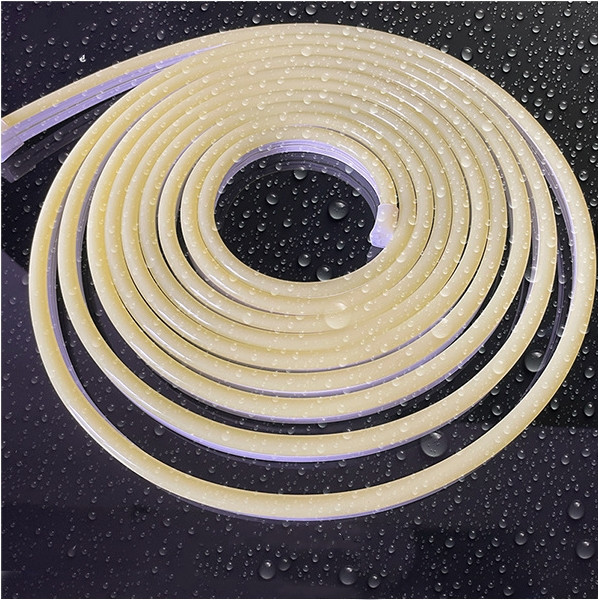
Flexible LED neon strip is produced with LED strip +outer silicone tube or PVC materials to emit uniform linear lighting . But it is not 100% real "neon" but looks like the "neon" lighting.
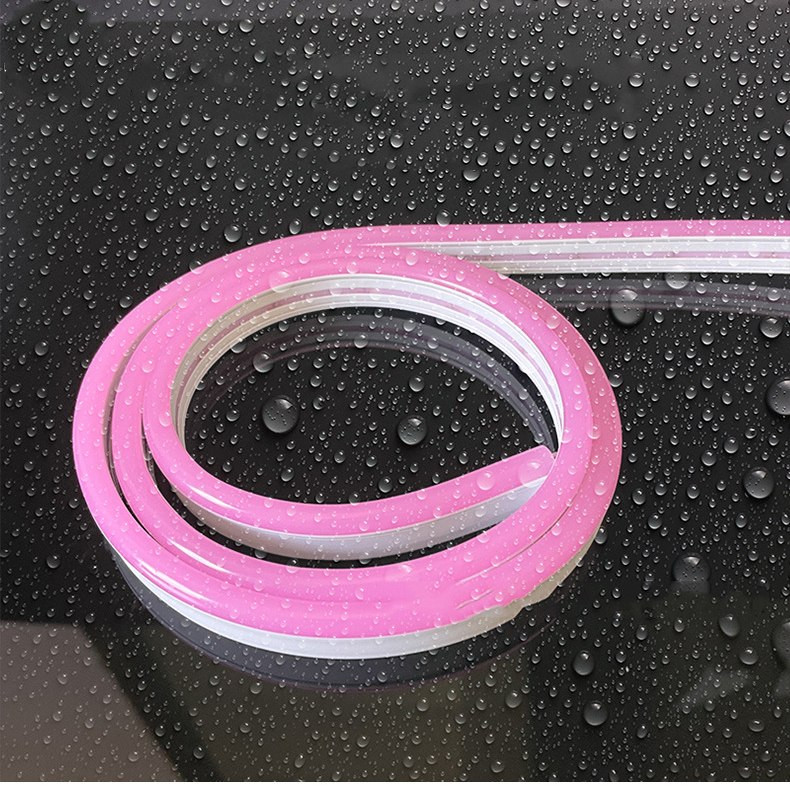
The neon sign LED strips can be cut, easily bent, and marked accurately . Neon sign strip is easy to shape a variety of curves, letters, signs, patterns, patterns, etc.
1: High lumen high efficiency 2835 size chips
2:Ra ≧80, better lighting performance.
3: Lower light attenuation, longer life span
4:Double electrical plating PCB get high thermal conductivity, better heat dissipation, anti-crack, anti-fracture.
5: Various sizes like 4*10mm/ 6*12mm/ 8*16mm/10*10mm/16*16mm.....for optional
6: 1 led per cut or 3 leds per cut, just based on the install needs.
| Size(mm) | Color | Volt | Power | Packing | Warranty |
| 6x12mm 120leds/m 3leds/cut silicone tube | single color | DC12V | 8w/m | 50m/roll | 2years |
| 8x16mm 120leds/m 3leds/cut silicone tube | single color | DC12V | 8w/m | 50m/roll | 2years |
| 6X12mm 5050x84 leds/m 4cm/cut pure silicone tube | RGB | DC12V | 15w/m | 5m or 50m | 2years |
| 8x16mm 5050x84 leds/m 4cm/cut pure silicone tube | RGB | DC12V | 15w/m | 5m or 50m | 2years |
| 6X12mm 5m/kit PVC tube | single color | DC12V | 5w/m | 5m | 1years |
How to install Flexible LED Neon Strip?
Step 1: Cut the Flexible Neon Strip to Length
The first step in making a flexible neon strip is to cut it to the desired length. Use a sharp pair of scissors to cut the strip along the designated cut lines.

Step 2: Connect the Power Adapter to the Flexible Neon Strip
After cutting the flexible neon strip to the required length, attach the power adapter to one end of the strip. Be sure to match the "+" and "-" polarity of the strip to the adapter's input.

Step 3: Solder the Wire
Using a soldering iron, solder the wire to each end of the flexible neon strip. Be sure to strip the wire first and then apply a small amount of solder to each end.
Step 4: Insulate the Connection
Once the wires are soldered to the flexible neon strip, wrap each joint with a piece of heat shrink tubing. Use a heat gun to shrink the tubing and seal the joints. This creates a watertight seal that protects the connection.
Step 5: Test the Flexible Neon Strip
Before installing the flexible neon strip, test it to ensure it works correctly. Plug it in and observe the lights for any irregularities or dimly lit areas. If everything seems good, you can proceed with the installation.
Step 6: Install the Flexible Neon Strip
Finally, install the flexible neon strip in the desired location. You can use brackets or adhesive tape to attach the strip to the surface. Be sure to mount it with the correct polarity orientation.

1: What's your warranty for the LED neon lights?
Usually we do 2years warranty for our LED neon lights. But for some special promotion models ( e.g. short-term use strips) we do 1 year warranty.
2: What's your MOQ and leadtime?
For our normal strips we can do 1000meters in the beginning. For the OEM or customized strips ( e.g. print LOGO) we need 3000meters for starting. In case of personalized bag, the extra charges will be needed based on its artwork.
We can deliver our normal models in 3-5days. If customized models, it will need 15-20days.
3: What's your sample policy?
We do free samples. So you just only pay the express cost which amount will be refundable once official orders confirmed.
4: Can you help us do shippment in case of small quantity?
Yes. We can ship to your appointed shipping agent warehouse in China mainland. If you don't have agent, we will introduce professional forwarder to carry out your shippment by express, by air or by sea.
We are specialized in LED strips&Sign lighting supplying! Profession, dedication, focus.
CERTIFICATE

WORKSHOP